
Our dining room table is the most used piece of furniture in our home. We eat all our meals at the table. It is homework central after school. We decorate cookies on it at Christmas time and use it to decorate Easter eggs in the spring. Every school project you can imagine has been worked out on this table.
As a result, this is my dining room table. There is very little varnish left on it, the stain has worn away in spots and has more than a few gouges in it. I have decided to give it bit of a make over to spruce it up.

For the first step, I needed to strip the varnish {what little was left on the table top} off with a highly dangerous product. Zip Strip is nasty stuff, but it sure does work. You need a couple layers of gloves to use this product. Believe me, you do not want this stuff getting on your skin.

I am applying the stripper with a cheap $.89 brush that I can throw away when I am finished applying the stripper. Also a paint scrapper is a must. A yucky rag to clean up the mess is also needed. Don't try to use paper towel for this job.


Pour the stripper into an old coffee can.

Paint the surface with the stripper. Only paint in one direction so you do not effect the drying time. I know that seems like a weird thing, but trust me on this. Painting in one direction is important.

When the finish begins to bubble and warp, it is time to start scrapping. Put some muscle into the scrapping process. Don't mar the wood, but get as much up with that scrapper as you can. This will save you from sanding work later on. You will notice that the stripper is not removing the stain on the wood. If you want to remove the stain, you will need to sand that off with an electric sander. I am just removing the varnish.

When the entire surface was scrapped and the goop was removed from the table, I went over the surface with steel wool. Make sure you eat your Wheaties before this step. {Gosh, that is an old reference!} And make sure you sand with the grain of the wood. You will only scratch the heck out of your wood if you go in a different direction.

Last step to part one is to clean the table. Take an old rag or some paper towel and pour some paint thinner on it. Wipe the table down making sure you get all the dust from the sanding.

You might be surprised at how much dust you have to clean up after the sanding.

Now it's time to give the wood a few coats of stain. I really like this product.

An old rag or tee shirt is the perfect thing to stain with.

Store the stain rag in a zip lock bag in between coats of stain.

Now, for the super fun part. Dip the rag into the stain and saturate a corner of the rag.

Perfect.

Staining is like finger painting for adults. Smear the stain on in the direction of the wood grain.

If you have a fun design in your woodwork, work with it. Do no choose one direction and do the whole piece in the same direction. You might need to change directions with each piece of wood like I did.

When the stain in on, smooth it out so you have an even coat on the wood. Let the stain sit for 5 to 20 minutes so it can soak into the wood.

When time is up, get a piece of paper towel to rub off the excess stain.

This is after one swipe of the table.

When all the excess stain is wiped up, let the stain dry for about 6 hours. Then give it another coat if you would like. I gave my table two coats of stain.

For the finish, I am using the same brand as the stain.

You want to put the poly on in a thin coat. Dip the brush in the poly and then spread that out as far as you can. You want a thin coat of poly. If you put a thick layer on, you will be sanding drip marks and uneven grooves until your hands are ready to fall off. Trust me on this.

The photo below shows the grooves in the poly. Smooth those out with your brush. The poly will even out a bit on its own, but not that much.

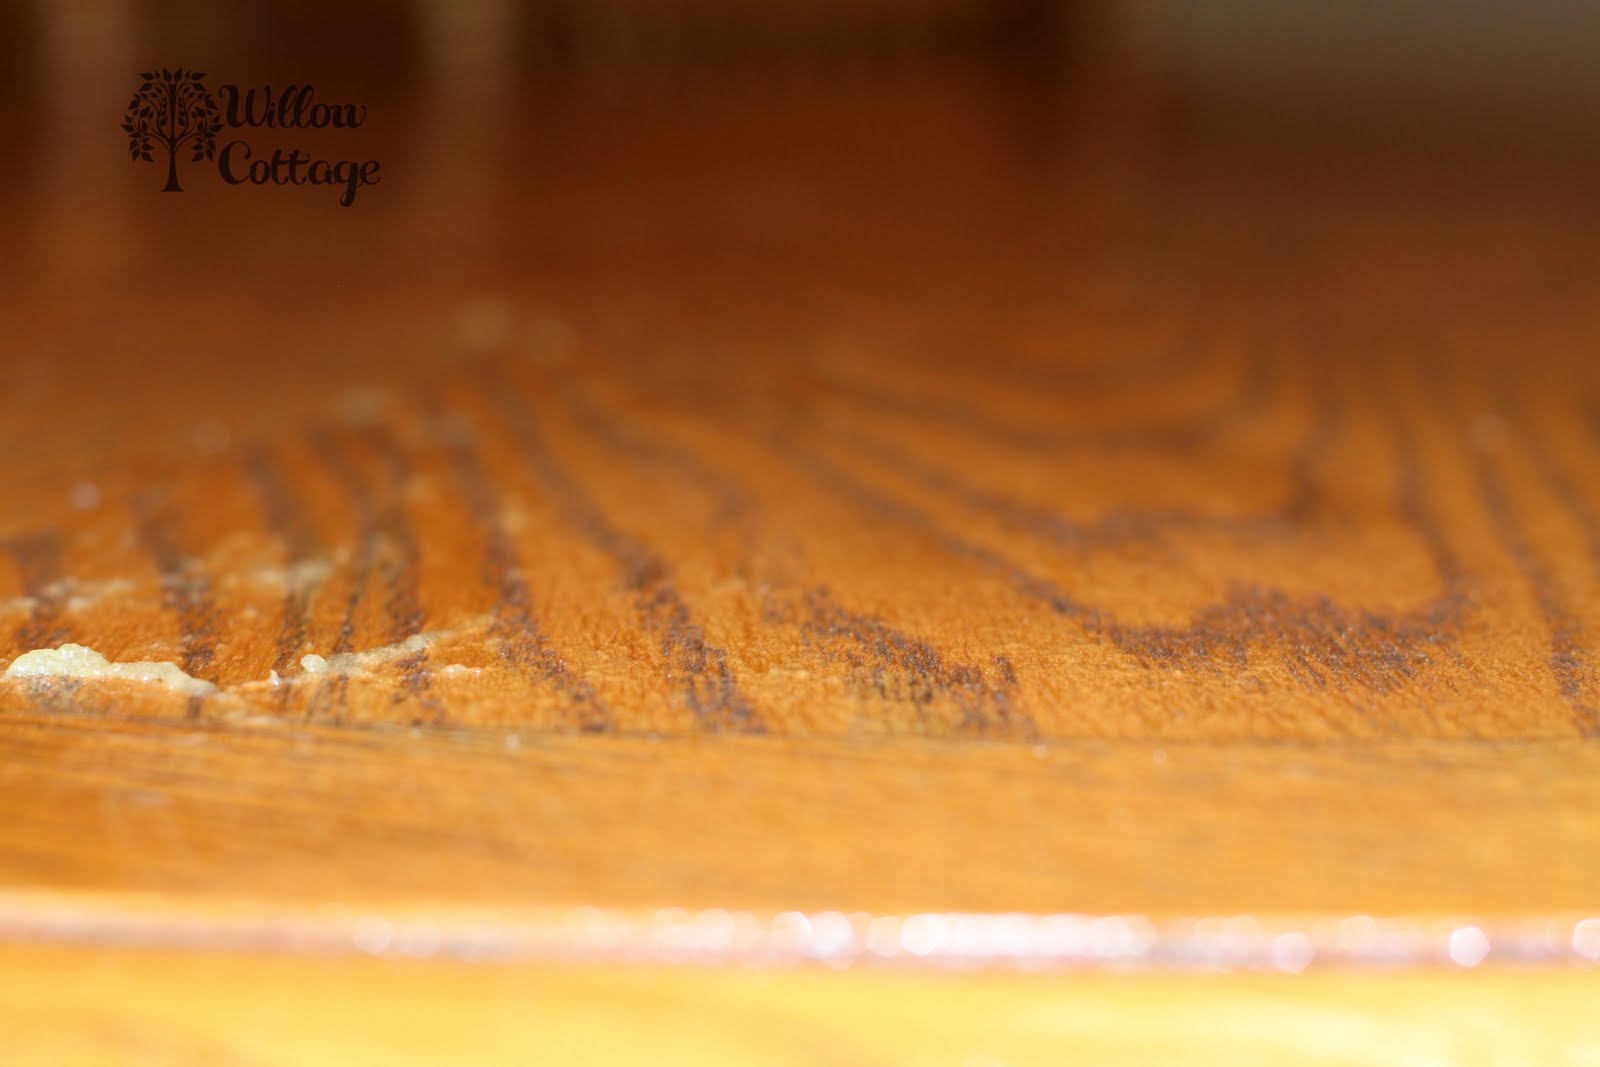
See those white dots on the poly? Those are bubbles. You want to work some of those bubbles out with the brush, but they will not all come out. Don't worry about it.

You can see how I have given the first two sections of the table a thin coat of poly, but the third section has not been done yet. I use a glare to check my work as often as possible. So let's recap. The name of the game here is a smooth, thin coat and make sure you cover every bit of the surface. Now, let the poly dry according to the directions on the can. Make sure no one touches it until it is completely dry.

After you finish the first coat of poly, you need to clean your brush. Pour some paint thinner into an old tin can. Soak your brush in the paint thinner for awhile and then dry the brush on an old rag.

Fast forward six hours, which was the drying time on my poly. Use a sheet of 220 grit {which is a fine grain sandpaper} sandpaper to lightly go over the first coat of poly. It's more like wiping a table than sanding. One pass is all it takes to pop the bubbles, which is the main objective. Sand down any drip marks or groves.

Pour a little paint thinner on an old rag and wipe down the surface after the light sanding.


Give the surface two more coats of poly sanding after the second coat. The third coat should turn out smooth and beautiful.
I am so happy with how it turned out. I feel like we have a new table.


