Showing posts with label boys. Show all posts

Saturday, January 8, 2011

Birthday Party Campout and Caramel Corn


My youngest son, Isaac, just turned 13. Isaac is an amazing young man. He is so creative and curious about the world around him. As often as possible I try to let the kids decide how they would like to celebrate their birthday. When I asked Isaac I knew he was going to have something fun up his sleeve. He did. Isaac chose to have a fall themed party with his very best friends. He wanted red, orange and yellow leaves to be the theme. I added camping to the overall idea of the party which he loved. Together we came up with some pretty cool ideas for the important occasion of becoming a teenager. :-)

We planned some games for the kids after everyone had arrived. We divided all the kids up into two teams and then we sent them on a scavenger hunt for colored leaves that my husband, Joel, had carefully hidden. We had a red team and a yellow team. The kids had so much fun hunting for their team's leaves. There were some easy to find leaves and then there were some leaves that were super hard to find. The kids love scavenger hunts and this one produced lots of laughs and a spirit of fun competition. Joel and I had just as much fun watching the kids as the kids had searching for the leaves.


After a few of Isaac's favorite games came a few of Isaac's favorite foods. The menu was tomato soup, grilled cheese and Caesar Salad. I cut leaf shapes out of the bread before I made the grilled cheese sandwiches to give it a little extra special touch. I will have a tutorial about this technique here.


After dinner and presents were out of the way, the kids settled down with a movie and a few of the snacks that Isaac had requested. I made caramel apples, hot cider and the amazing caramel corn.


After the movie, snacks and goofing around the kids were finally ready for bed. We tried to create a super cool place for the boys to rest their heads. We used all the Christmas trees that we had to make a forest wall in the living room. We draped orange, yellow and red lights on the trees for an autumnal touch. We used all the extra leaves and leaf garlands that we could find to decorate the fireplace...I mean campfire.


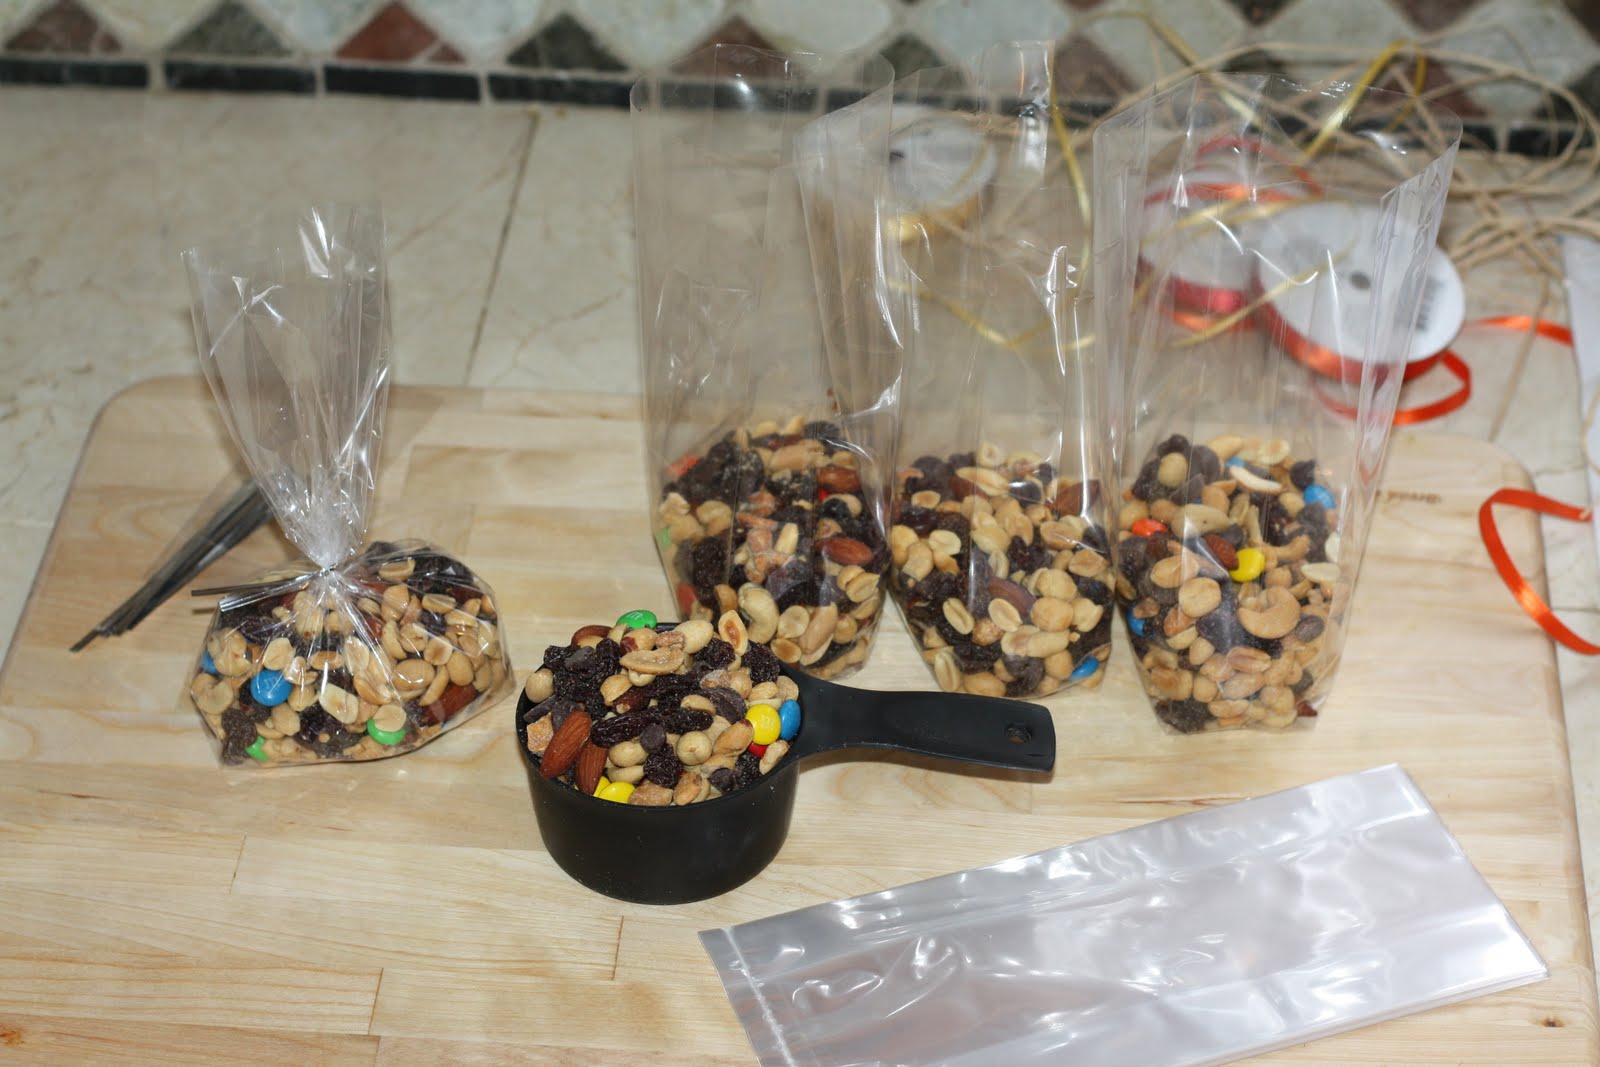
We sent each of the kids home with a little thank you for coming gift bag that was filled with a baggie of trail mix, a flashlight, and a compass.


For our trail mix, we customized a bag of WalMart trail mix to make the birthday boy as happy as can be.


I put the store brand trail mix in a big bowl.


Then I added some bittersweet chocolate chips, semisweet chocolate chips, roasted and salted cashews, and some honey roasted cashews to the mix. I gently mixed everything together.


I bagged the trail mix in clear treat bags and tied them shut with colored ribbon and a bit of raffia to add a bit of a rustic look.


And finally, I made little invitations and thank you cards for Isaac to give to his friends. I never got a picture of the invitations. :-( But here is a thank you note. I used the same paper on the gift bags up above. A friend found some really cool clearance scrap book paper that was actually a thin piece of wood. Isaac loved the stationary and he was very happy to hand them out to his friends.


I was really happy with the way everything came together, but most importantly, my son was so happy with his party. Mission accomplished. All the planning and work had been so worth his happiness. :-)

Now for the caramel corn recipe. The board of ingredients are amazingly simple for something so yummy.


To begin, set yourself up. Pour your popcorn and peanuts into your largest roasting pan. You will be stirring this a few times while it bakes, so something with a bit of a side is nice. If you don't have something large enough to hold all the popcorn and peanuts, divide the popcorn and peanuts into two smaller pans.


Measure out your baking soda so you are ready to go.


Add your corn syrup, butter, salt and brown sugar to a large saucepan and cook over medium high heat. Your caramel is going to bubble up as it cooks so you want plenty of room in your pan.


You want to stir the caramel as it cooks. When tiny bubble begin forming at the edges of the caramel, set your timer for five minutes.


As your caramel boils, it is going to bubble up. Don't worry, but be very careful. One things that is very important is to time your boiling caramel. Boil the caramel for exactly five minutes.


When your five minute timer goes off, turn off the heat and immediately add the baking soda.


Stir carefully until the soda is completely incorporated.


Kind of like this. :-)
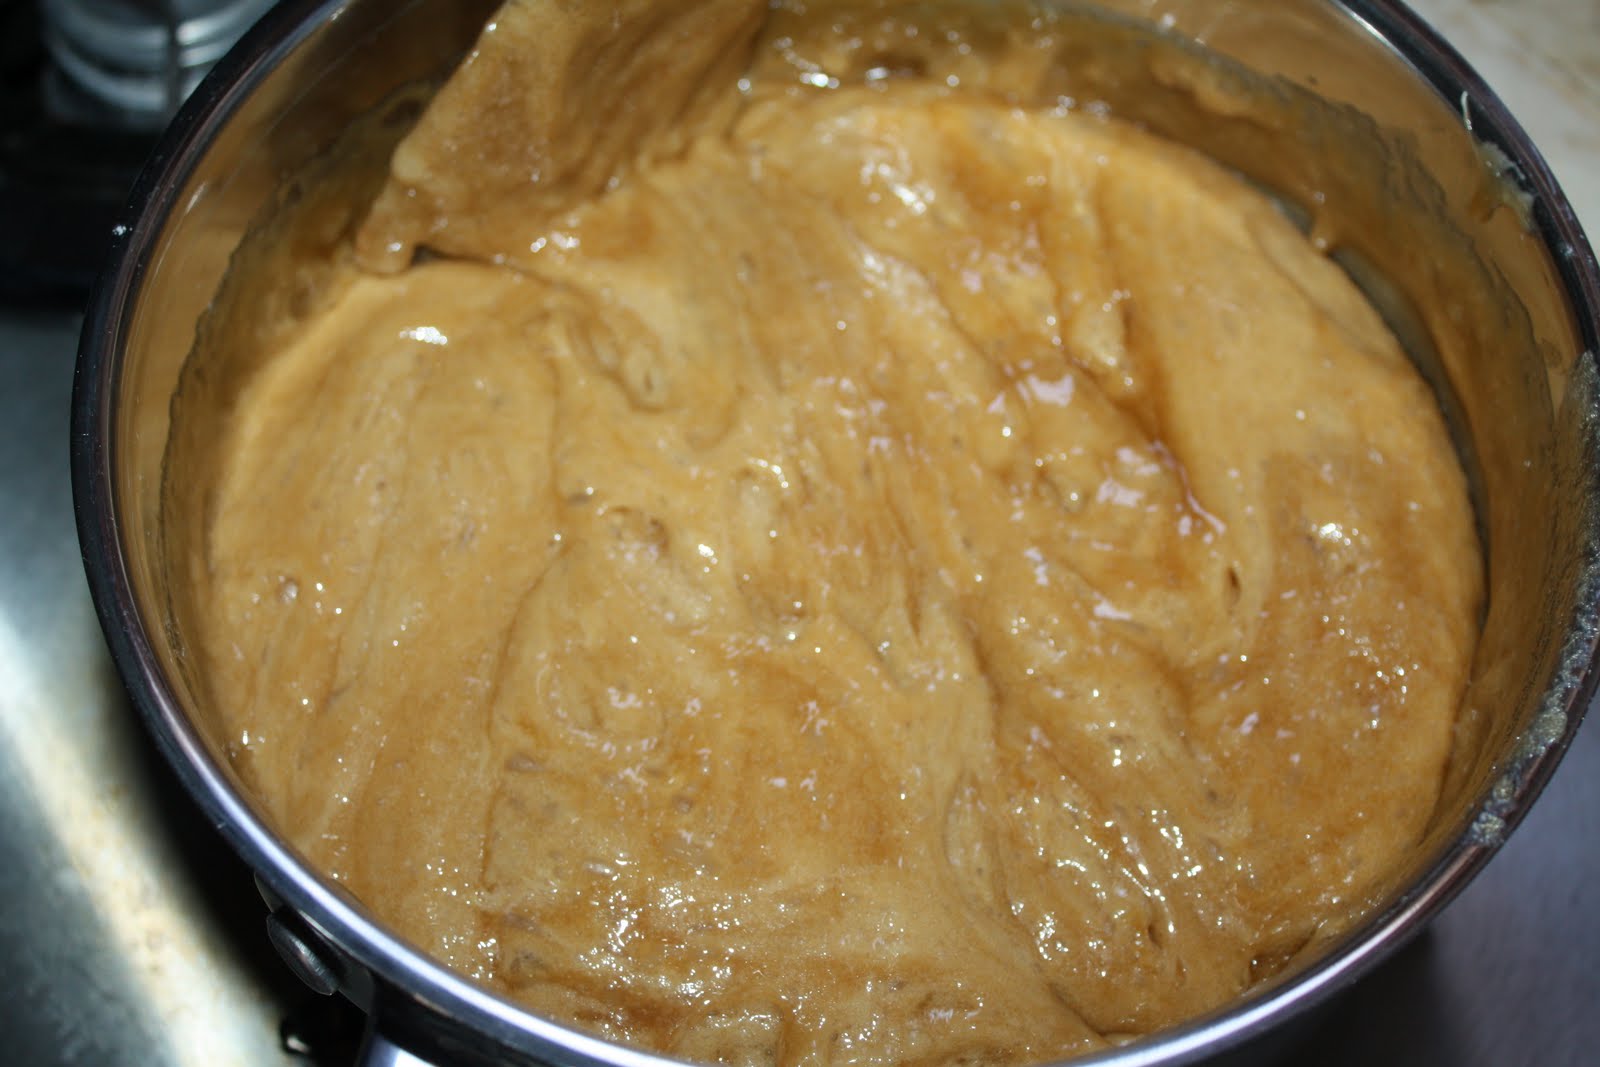


Now pour the caramel over the popcorn and peanuts trying to cover as much surface area as you can.


Kind of like this. :-) Clean up the edges before it goes into the oven. 300 °F for 15 minutes.


This is what you get in 15 minutes.


Your caramel corn needs stirring every 15 minutes to distribute that lovely caramel onto every piece of popcorn. Stir it up by scooping straight down along the edge of the pan.


Run your spatula along the bottom of the pan to scoop up any caramel and then lift your spatula straight up. You want to stir carefully so you do not crush your popcorn.


When everything is stirred up and all the caramel corn that fell out of the pan is tucked back in, put the caramel corn back in the oven for another 15 minutes. The caramel corn needs to be baked for one hour total with a stir every 15 minutes. When the caramel corn is baked, stir it for a few minutes as it cools. If you don't stir at the end, the caramel corn will cool in a brick the shape of your pan.


Caramel Corn


Ingredients:


5 or 6 quarts of popped pop corn
16 oz peanuts

Caramel:
1 teaspoon salt
2 cups brown sugar
1 cup butter
1/2 cup light corn syrup

1/2 teaspoon baking soda

Directions:


1. Preheat oven to 300 °F.

2. Put the popcorn and peanuts in the largest pan you have.

3. Put the butter, salt, brown sugar and corn syrup in a large saucepan over medium high heat. Stirring, bring the mixture to a boil and boil for five minutes. Do not boil any longer than five minutes.

4. Take the caramel off the heat and add the 1/2 teaspoon of baking soda. Stir when caramel bubbles calm down.

5. Pour the caramel over the peanuts and popcorn covering as much popcorn as possible. Bake in the oven for one hour. Stir the popcorn and peanuts every 15 minutes.

6. When caramel corn comes out of the oven, stir it for a few minutes until it cools down. Enjoy.

For a printer friendly version of this recipe click here.


I am linking up to Stone Gable's On The Menu Monday

Tuesday, August 24, 2010

Sports Bag To Go


Grab and go is really important to me when I have three boys on three separate football teams. I am so busy running and trying to keep track of their busy schedules that convenience and easy becomes very important to me. This is my sport bag. I pack every on the go essential I can think of into a bag at the beginning of football season. Once the bag is ready to go, I just have to grab it before we head out to the games. My oldest son is on the varsity team and they always have the concession stands open for the varsity games as well as a first aid station. But for my younger sons on the the freshman team and the middle school teams, we are left on our own. All those Saturday morning Pop Warner games have taught me the hard way to come prepared.


First of all, be ready to be your own first aid station. I was given an instant ice pack so I throw it in the bag. I have anti histamine for bug bites and those of us that suffer from seasonal allergies. I also throw in a nasal decongestant to help relieve a little sinus pressure when I am sitting out in the fresh air breathing in all those allergens! A first aid kit has a few packets of Tylenol, band aids, and a few packets of Neosporin. The year my daughter fell off the bottom step of the bleacher and skinned her knees was the year my sports bag started including emergency first aid.


I swear the first words out my children's mouth when we get to a game is..."I'm hungry!"


The second thing out of their mouth is..."I'm bored!" I have found a deck of cards, a notebook, a few pencils and a little imagination can go a long way to distracting the kids.


I have also learned the wisdom of preparing to battle the weather. Sunscreen, bug spray, a rain poncho, extra sunglasses in case you forget to grab yours and the home team has you facing the sunset!!!, an umbrella and I think hand sanitizer was supposed to be with snacks.


Mommies need hydration inside and out. I can't say enough about that.


Once you have your bag ready to go for the season, all you have to grab is a water bottle and a few snack before each game. I love my sports bag and so do a few of the parents that sit by us. Having everything gathered up and in a bag just makes games days a little more organized and it's one less thing I have to worry about when I am prepared for anything.

Also this is a great place to put those buttons of your kids posing with the ball in their sport uniforms. Add a little ribbon and you can decorate away! I don't have any photo buttons, but I do have a couple of buttons with the kids team logo on it that I will add to the bag and the ribbon I added to the handle is just a touch of team spirit. Our school colors are black and red so I purposefully used a black bag and red ribbon. Go team!

Saturday, August 7, 2010

A Day At The Dock And A Fish Stick Recipe


Every so often the boys like to haul tons of stuff down to the dock and spend a few hours enjoying the slow pace of summer. They get Alyssa to help them take their fishing poles, their reading material, games, a ton of snacks and even the family room coffee table down with them. And to make it even a little more special, I bring them lunch on the dock. I could not resist making a batch of fish sticks for them while they hung out with their fishing poles on the dock. Luckily I had pre-purchased Alaskan pollack in case they did not catch anything.


So while the boys were busy on the dock, I started making their lunch. Homemade fish sticks are a favorite treat at our house. The kids love these super crunchy and mild fish sticks and I love that they are super easy to make. You need only a handful of common and cheap ingredients to get the best fish sticks of your life. I bought Alaska pollack because it is a very mild fish, but you can use any fish that you like. Also I bought a 4 ounce bag of pollack at my grocery store on sale for one dollar. This recipe uses 20 ounces total, but you can certainly adjust that amount to suit your needs.


So start by cutting your thawed fish into fingers. I lay them all out on the cutting board and then sprinkle them with salt, pepper and paprika to season the fish. Then just toss the fish fingers together a bit to evenly distribute the seasoning. If you look extra carefully in the picture below you can see the paprika floating down from heaven onto the fish. It is sort of like a 'Where's Waldo?' exercise. It's my favorite kind of exercise incidentally.


Then add your dredge ingredients to a bowl and mix with a whisk.


Simply toss the fish into the dredge mixture and drop into the heated oil. The fish sticks cook for five minutes and come out crunchy and perfect.


I sprinkle a little salt on the top while they are still hot.


Then, because there was a mega sale on melons at Wal-Mart I bought a few to make a cold, juicy tropical salad. I bought a pineapple and a super ripe mango to go into the salad as well.


I have a yellow watermelon, a Santa Clause, a Crenshaw, a cantaloupe, a pineapple and a mango.


Fish Sticks


Ingredients:


3 Cups Canola Oil
20 oz Alaska Pollock
Pinch of Salt
Pinch of Pepper
Pinch of Paprika
1 Cup Corn Starch
1/4 Cup All Purpose Flour
1/2 Teaspoon Salt
1/2 Teaspoon Paprika
1/2 Teaspoon Pepper

Directions:


1. Pour oil into a 2 quart saucepan. Heat oil over medium heat until the temperature reaches 350 degrees. This is the perfect frying temperature. You may need to adjust your stove a bit to keep the oil at the temperature you desire.

2. Cut the fish into fingers and sprinkle with a pinch of salt, pepper and paprika. Then toss fish fingers together to evenly distribute the seasoning.

3. Add last five ingredients to a bowl and mix with a whisk. This is your dredge mixture.

4. Drop a few fish fingers into the dredge mixture and coat. Tap off extra dredge coating and carefully put fish into the hot oil. The oil should bubble immediately. Cook fish for five minutes and then remove from oil. Put cooked fish onto a paper towel to drain. Sprinkle with a pinch of salt.

5. Cook remaining fish in small batches until all the fish is cooked. Enjoy immediately.

This makes recipe serves 4.

For a printer friendly version of this recipe click here.

I served the fish sticks with tropical fruit salad, steamed green beans, little yellow and red tomatoes, a little dipping cup of ranch dressing and ice cold iced tea.

I am linking this to Funny Foodie Friday at Designs by Gollum.