Tuesday, January 10, 2012

Refinishing the Dining Room Table

My Camera is back!!!  {HAPPY DANCE!!!}

Our dining room table is the most used piece of furniture in our home.  We eat all our meals at the table.  It is homework central after school.  We decorate cookies on it at Christmas time and use it to decorate Easter eggs in the spring.  Every school project you can imagine has been worked out on this table.   

As a result, this is my dining room table. There is very little varnish left on it, the stain has worn away in spots and has more than a few gouges in it.  I have decided to give it bit of a make over to spruce it up.


For the first step, I needed to strip the varnish {what little was left on the table top} off with a highly dangerous product.  Zip Strip is nasty stuff, but it sure does work.  You need a couple layers of gloves to use this product.  Believe me, you do not want this stuff getting on your skin. 


I am applying the stripper with a cheap $.89 brush that I can throw away when I am finished applying the stripper.  Also a paint scrapper is a must.  A yucky rag to clean up the mess is also needed.  Don't try to use paper towel for this job.   


Pour the stripper into an old coffee can. 


Paint the surface with the stripper.  Only paint in one direction so you do not effect the drying time.  I know that seems like a weird thing, but trust me on this.  Painting in one direction is important.   
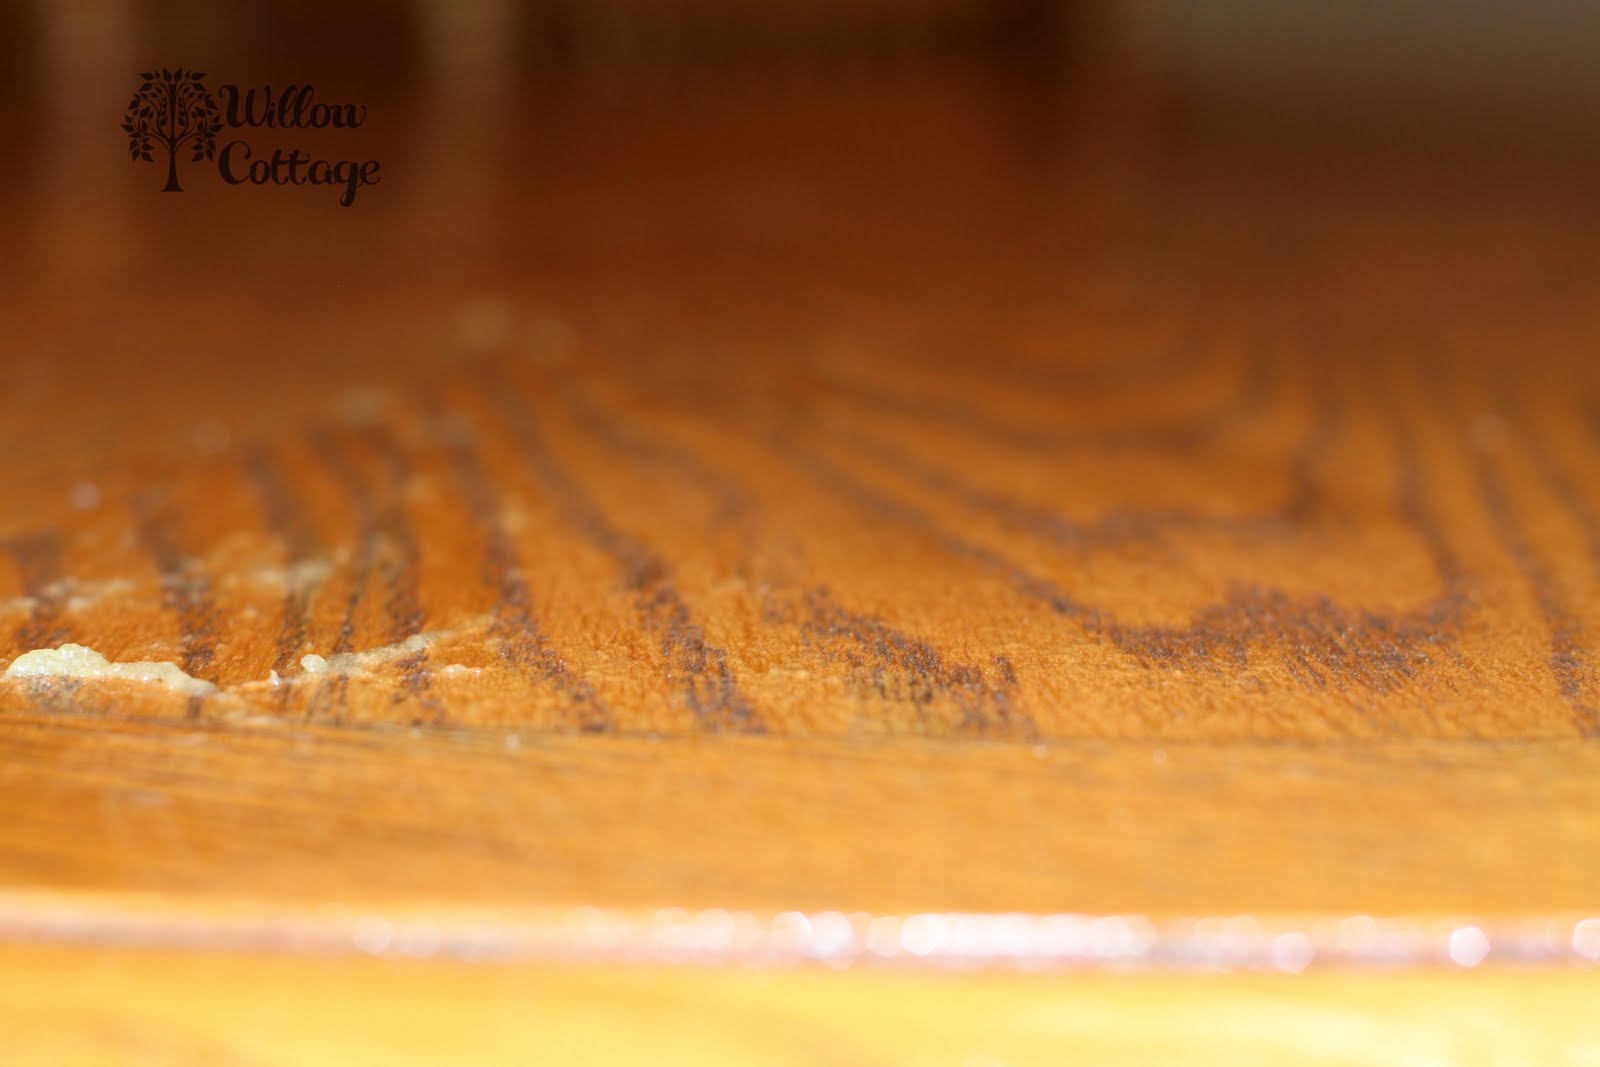


When the finish begins to bubble and warp, it is time to start scrapping.  Put some muscle into the scrapping process.  Don't mar the wood, but get as much up with that scrapper as you can.  This will save you from sanding work later on.  You will notice that the stripper is not removing the stain on the wood.  If you want to remove the stain, you will need to sand that off with an electric sander.  I am just removing the varnish. 


When the entire surface was scrapped and the goop was removed from the table, I went over the surface with steel wool.  Make sure you eat your Wheaties before this step.  {Gosh, that is an old reference!}  And make sure you sand with the grain of the wood.  You will only scratch the heck out of your wood if you go in a different direction.


Last step to part one is to clean the table.  Take an old rag or some paper towel and pour some paint thinner on it.  Wipe the table down making sure you get all the dust from the sanding.


You might be surprised at how much dust you have to clean up after the sanding. 


Now it's time to give the wood a few coats of stain.  I really like this product. 


An old rag or tee shirt is the perfect thing to stain with. 


Store the stain rag in a zip lock bag in between coats of stain. 


Now, for the super fun part.  Dip the rag into the stain and saturate a corner of the rag.


Perfect.


Staining is like finger painting for adults.  Smear the stain on in the direction of the wood grain. 


If you have a fun design in your woodwork, work with it.  Do no choose one direction and do the whole piece in the same direction.  You might need to change directions with each piece of wood like I did.


When the stain in on, smooth it out so you have an even coat on the wood.  Let the stain sit for 5 to 20 minutes so it can soak into the wood. 


When time is up, get a piece of paper towel to rub off the excess stain.


This is after one swipe of the table. 


When all the excess stain is wiped up, let the stain dry for about 6 hours.  Then give it another coat if you would like.  I gave my table two coats of stain. 


For the finish, I am using the same brand as the stain. 


You want to put the poly on in a thin coat.  Dip the brush in the poly and then spread that out as far as you can.  You want a thin coat of poly.  If you put a thick layer on, you will be sanding drip marks and uneven grooves until your hands are ready to fall off.  Trust me on this.


The photo below shows the grooves in the poly.  Smooth those out with your brush.  The poly will even out a bit on its own, but not that much. 


See those white dots on the poly?  Those are bubbles.  You want to work some of those bubbles out with the brush, but they will not all come out.  Don't worry about it. 


You can see how I have given the first two sections of the table a thin coat of poly, but the third section has not been done yet.  I use a glare to check my work as often as possible.  So let's recap.  The name of the game here is a smooth, thin coat and make sure you cover every bit of  the surface. Now, let the poly dry according to the directions on the can.  Make sure no one touches it until it is completely dry. 


After you finish the first coat of poly, you need to clean your brush.  Pour some paint thinner into an old tin can.  Soak your brush in the paint thinner for awhile and then dry the brush on an old rag. 


Fast forward six hours, which was the drying time on my poly.  Use a sheet of 220 grit {which is a fine grain sandpaper} sandpaper to lightly go over the first coat of poly.  It's more like wiping a table than sanding.  One pass is all it takes to pop the bubbles, which is the main objective.  Sand down any drip marks or groves. 


Pour a little paint thinner on an old rag and wipe down the surface after the light sanding.


Give the surface two more coats of poly sanding after the second coat.  The third coat should turn out smooth and beautiful. 

I am so happy with how it turned out.  I feel like we have a new table.   

Monday, January 2, 2012

Blog Exercise - What Can I Do Better?

It's the start of a new year and a new beginning. I love new beginnings. A brand new note book, a brand new year, a brand new pair of athletic shoes...they all hold so much potential and since I am an optimist I can't help getting excited and feeling hopeful.

My camera is still in the shop. I am missing it dearly, but it should be all fixed up and on it's way home soon.

To kick the new year off, I am joining Project: Blogging at Inspire Me. The point is to get honest feedback on what is good and not so good about my blog. I would really love some feedback.  {If you are a blogger and want to join in, click the link below and check it out.} 

I have been wondering about a few things lately.  I would LOVE it if you wanted to leave some comments about the following...
1. Is the overall content good/interesting/original?
2. Is the photography up to par?  To many photos, not enough photos, better photos?  What do you think?
3. What do you think of the writing?  Are the posts well written or too blabby?  Enough details, not enough details?  Be honest!
4. What can I do better?
5. Overall look of the the blog is...?


Wednesday, December 21, 2011

Christmas Morning Tablescape

It's The Most Wonderful Time Of The Year!
Christmas morning is so special.  What a day to celebrate God's love and blessings.  For us, Christmas morning is a time for a very special tradition.  Not only do we make the kids' favorite meal of the year, we spend a lazy morning opening gifts, but a time to reflect on God's gift to us, His Son, Jesus Christ. 

Today I am setting the table for Christmas morning breakfast.  Before we get started, I wanted to show you the garland that my 14 year old son put up as one of his Christmas decorating projects this year.  He gave this garland a lot of thought and it took him forever...but it was so worth the wait.  I am so impressed...maybe I am biased, but I can't help it.  Man, I love that boy.  {There is no way I could have done this at his age.} 


So back to the table.  I gathered up a few things to get started and don't forget to get rid of those chairs while you are setting the table.  A clear path makes it so much easier to set the table.  I also have to bribe the dog to take her nap somewhere else.


I am using a simple tray for my centerpiece.  A piece of garland went in next and then a pile of colorful, glass balls went on top. 


I made sure to pull a few evergreen sprigs through the sides of the tray to give it a more natural look.  Also, I tucked a few pine cones and glass balls down a bit lower so there was some interest when you were looking at the tray from the side.   


The tablecloth is another homemade special {Thanks Mom!} from fabric that I found at JoAnn Fabric.  I love the polka dots.


Placemats...


Red Chargers...


Everyday Plates...


Our Fun Christmas Dishes {A closer shot of them is coming up!}...


Everyday Silverware...


Napkins...


And Glasses. 


I love the polka dot napkins layered over solid green napkins.  {Thanks for the napkins too, Mom! :-) I LOVE them.}


Don't be afraid to drink wine for breakfast.  Just kidding!  Don't be afraid to let your wine glasses do a little multi-tasking to bring a little fun or elegance to your table.  Hubby and I are using wine glasses for orange juice.  It's just a special touch to a special meal on a special day.   


Have Yourself a Merry Little Christmas!

I am linking to Between Naps on the Porch for Tablescape Thursday. Check it out to see tons of great tablescapes by talented bloggers.

Saturday, December 10, 2011

I have bad news.  My camera is having some problems.  I have my fingers crossed that the Camera Doctor can fix her up.  If you want to cross your fingers with me, I would be okay with that.

I had planned on showing you some of my favorite holiday party recipes like my Shrimp Cocktail Recipe and Mini Rubens.  Also I wanted to show you all the pretty lights we strung outside.

I promise to be back as soon I can be. I hope you are enjoying a beautiful Christmas season.  Here is my only picture from outside before my camera bit it.  


 I strung a piece of garland around the rocker and added fresh greens to give it a bit of added dimension.  Then I wired the red ornaments onto the garland and finally strung the ice skates on so they would not blow away.

Thursday, December 1, 2011

Visions of Sugar Plums Danced In My Head


I have a cherished nutcracker collection.  I though it would be fun to decorate the library based on ETA Hoffman's Nutcracker.  I started with a generic list of items or themes from the story.  It was a short list.  Sugar Plum fairies, Clara, Drosslmier - the clock maker, tin soliders, nutcrackers and of course a prince and princess.  Great list, but not exactly something that easily translates into a decorated Christmas tree.

I decided that a sugar plum fairy would be a great project, but I don't have time to make her right now.  I cut it down to making sugar plums, which I thought I could handle.   

So, I have never had a sugar plum.  I have never even seen a sugar plum in real life. I did a search on sugar plums and decided I could recreate a pretty good imitation with a Styrofoam ball, a couple coats of brown acrylic paint and a few spritzes of spray glitter.  I also cut up some shrink wrap to wrap the sugarplums in. 


Start with a Glue Dot on the sugar plum.  The glue dot is going to hold the shrink wrap in place.  Shrink wrap is slippery.


Attach the glue dot to the center of one side of the shrink wrap. 


Roll the 'sugar plum' up in the shrink wrap.  And add another glue dot to keep the shrink wrap in place. 


Viola!


I used a couple of pieces of ribbon to tie the end shut. 


Tie the other end and trim the excess shrink wrap.  I am so pleased with the way this turned out.  This will be perfect on my Nutcracker Christmas tree.  Stay tuned to see how that turns out.  If anyone that has seen or eaten a real sugar plum happens upon this would you please let me know how this compares to a real sugar plum?  I really want to know, so you can be honest.    


Visit thecsiproject.com